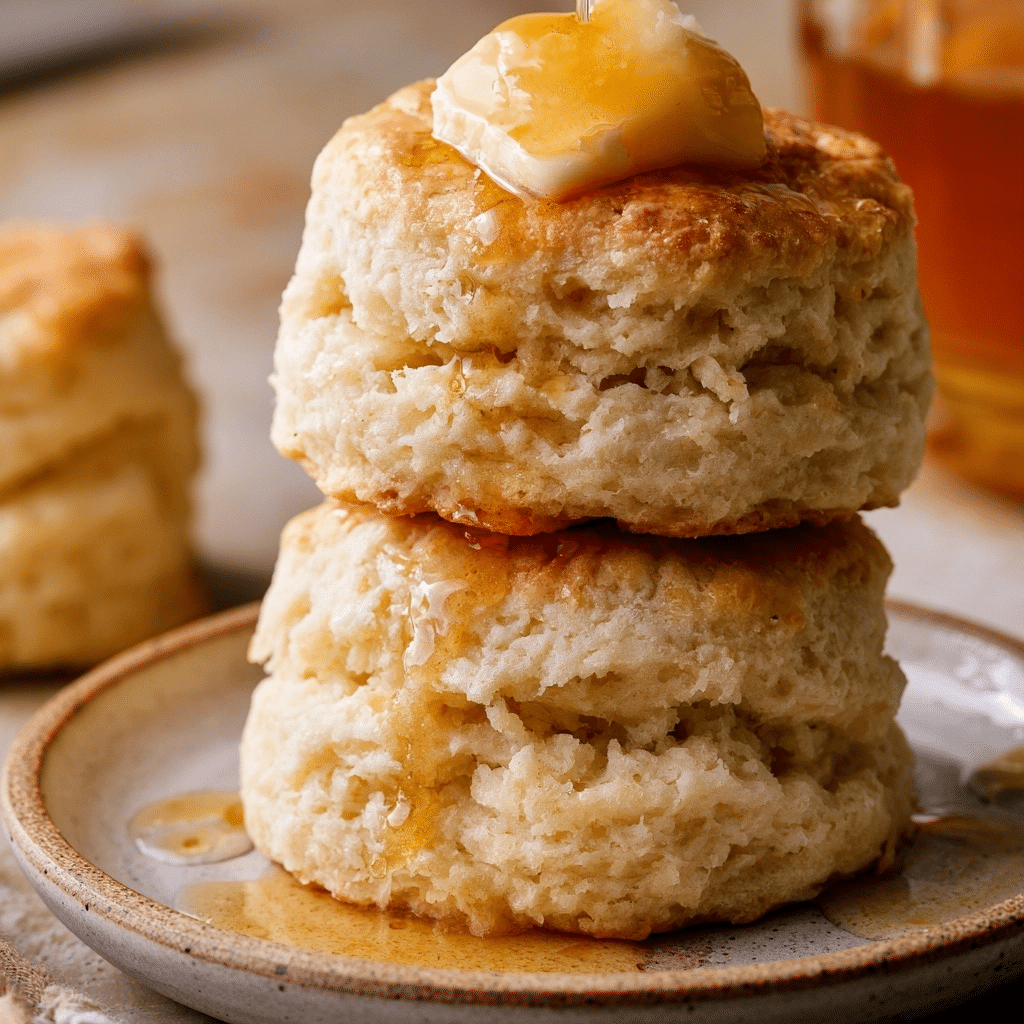
These brown butter biscuits provide a deep, toasted depth of flavor that standard dairy simply cannot match. By browning the butter before incorporating it into your dough, you create a rustic, nutty scent and a golden hue that elevates every single bite. Follow this guide to master the technique of working with compound fats for the ultimate laminated texture.
Recipe Overview
| Prep Time | 2 hrs 30 mins (includes chilling) |
| Cook Time | 15 mins |
| Total Time | 2 hrs 45 mins |
| Servings | 8 biscuits |
| Difficulty | Intermediate |
| Cuisine | American |
Why This Recipe Works
This recipe works because the browning process chemically alters the flavor of the butter, developing roasted milk solids that add a complex, toasted profile to the biscuit crumb. Traditional recipes often rely on standard fats, but using browned butter introduces a savory baseline that pairs perfectly with both sweet honey and salty breakfast proteins.
First-hand experience shows that chilling the butter back to a solid state after browning is the secret to success. If the butter remains soft, it will smear into the floor instead of creating the distinct streaks of fat required for a flaky, architectural lift. You will see the transformation clearly when the oven temperature hit the cold pockets of butter, steam releasing to force the dough upward into high, airy layers.
Ingredients
| Ingredient | Quantity | Notes |
| Unsalted Butter | 1 cup total | 3/4 cup for dough, 1/4 cup for topping |
| All Purpose Flour | 1 3/4 cups | King Arthur or similar high protein brand |
| Baking Powder | 2 tsp | Ensure it is fresh for maximum lift |
| Kosher Salt | 3/4 tsp | Diamond Crystal is preferred for accuracy |
| Buttermilk | 1/2 cup | Cold, full-fat version provides best tang |
Step-by-Step Instructions
Phase 1: Preparing the Browned Fat
- Place 3/4 cup butter into a small saucepan and melt over medium-low heat.
- Simmer the butter for 7 to 9 minutes until you observe the fragrance becoming nutty and the liquid turns a golden-brown color.
- Pour the browned butter into a small bowl and place it into the refrigerator for 2 hours until it hardens completely.
- Cut the solidified browned butter into small, uniform cubes and keep them chilled until the moment you incorporate them into the flour.
Phase 2: Mixing the Dough
- Preheat your oven to 450˚F and place a rack in the center position.
- Whisk together the flour, baking powder, and salt in a large mixing bowl until fully combined.
- Cut the cold, cubed browned butter into the flour using a pastry blender until the mixture resembles a coarse, mealy texture.
- Add the cold buttermilk to the bowl and fold the ingredients together just until a shaggy dough forms.
Phase 3: Shaping and Baking
- Turn the dough onto a lightly floured work surface and roll it into a rectangle about 1/2 inch thick.
- Fold the dough into thirds like a letter, rotate it, and fold it again into thirds to create internal layers.
- Roll the dough to a final thickness of 1 inch and trim the edges to form perfect 2-inch squares.
- Transfer the biscuits to a parchment-lined baking sheet, spacing them 1 inch apart.
- Bake for 8 minutes, remove the tray, and brush the tops with the remaining melted 1/4 cup of butter.
- Return to the oven for 4 to 6 minutes until golden brown, then cool for 5 to 7 minutes before serving.
Chef Tips for Perfect Results
- Always keep your dough cold; if the butter melts before the biscuits enter the oven, you lose the flaky layers.
- Use a sharp bench scraper to cut your squares, which prevents sealing the edges and allowing the dough to rise straight up.
- Fold the dough with care; aggressive handling makes the biscuits tough rather than delicate and crumbly.
- Brush the tops with extra butter immediately upon pulling them from the oven to ensure a soft, flavorful crust.
Common Mistakes to Avoid
- Over-browning the butter: Burning the milk solids results in a bitter flavor, so remove from heat as soon as they turn amber.
- Adding warm ingredients: If your buttermilk is room temperature, it will liquefy the butter cubes and ruin the texture.
- Over-mixing the dough: Stop as soon as the flour is hydrated to prevent the development of gluten, which makes biscuits chewy.
- Crowding the sheet: Arrange them 1 inch apart so the heat can circulate, ensuring even browning on all sides.
Variations and Substitutions
| Ingredient | Substitution | Impact |
| Buttermilk | Milk with lemon juice | Similar tang but lower viscosity |
| All Purpose Flour | Cake flour | Lighter, more delicate crumb |
| Unsalted Butter | Ghee | Nutty, but lacks the milk solid depth |
Explore More Delicious Recipes
Love this recipe? You might also enjoy these related recipes that use similar ingredients, flavors, or cooking methods. Explore more delicious ideas and discover your next favorite dish:
-Honey Butter Buttermilk Biscuits
-Cheesy Chive Gluten Free Biscuits
-Maple Cinnamon Buttermilk Biscuits
-Parmesan Black Pepper Biscuits
-Buttermilk Sweet Corn Biscuits Recipe
–Everything Cream Cheese Biscuits
-Fluffy Garlic Herb Buttermilk Biscuits
for even more delicious ideas. Don’t forget to save your favorites on Pinterest so you can easily find them whenever you’re ready to cook again.
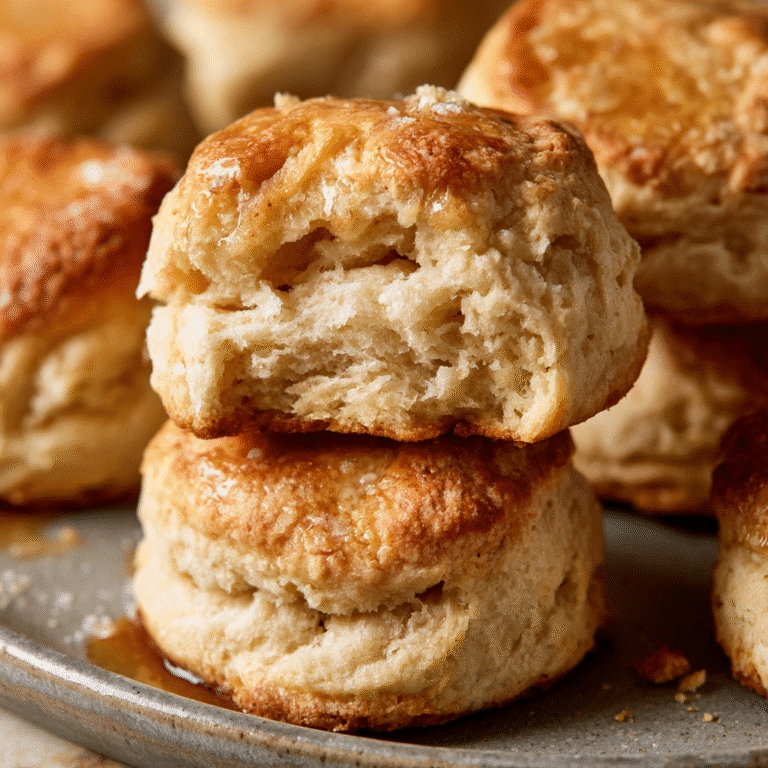
Brown Butter Biscuits
Elevate your morning routine with these incredibly flaky, rustic biscuits. By browning the butter first, we introduce a deep, nutty, toasted depth of flavor that standard dairy lacks. The secret to the perfect architectural lift is chilling the browned butter back to a solid state before cutting it into the flour, which creates distinct, airy layers once the steam releases in the oven. These are the ultimate savory companion to honey, jams, or your favorite breakfast side.
- Total Time: 165
- Yield: 8 biscuits 1x
Ingredients
3/4 cup unsalted butter (for dough)
1/4 cup unsalted butter (for topping)
1 3/4 cups all-purpose flour
2 tsp baking powder
3/4 tsp kosher salt
1/2 cup cold full-fat buttermilk
Instructions
Place 3/4 cup butter in a saucepan over medium-low heat and simmer for 7-9 minutes until nutty and golden brown.
Pour butter into a bowl and chill for 2 hours until hardened, then cut into small, uniform cubes.
Preheat oven to 450F.
Whisk flour, baking powder, and salt in a large bowl.
Cut cold brown butter cubes into the flour mixture until pea-sized crumbs form.
Stir in cold buttermilk until the dough just comes together.
Turn onto a floured surface, fold the dough over itself to create layers, and cut into biscuits.
Brush with remaining melted butter and bake for 15 minutes or until golden brown.
Notes
Ensure all ingredients remain cold before baking to prevent fat from melting too early. For extra flake, fold the dough three times after initial mixing. Serve warm.
- Prep Time: 150
- Cook Time: 15
- Category: Cookie Recipes
- Method: Baking
- Cuisine: American
- Diet: Vegetarian
Nutrition
- Serving Size: 1 biscuit
- Calories: 280
- Sugar: 1g
- Sodium: 320mg
- Fat: 18g
- Saturated Fat: 11g
- Carbohydrates: 26g
- Fiber: 1g
- Protein: 4g
- Cholesterol: 45mg
Frequently Asked Questions
Can I make the dough ahead of time?
You can prepare the dough up to 24 hours in advance by cutting the biscuits and keeping them in the refrigerator on the baking sheet. Simply bake them directly from the fridge, adding 1 to 2 minutes to the total baking time.
How do I know when the biscuits are fully cooked?
The biscuits reach perfection when the layers are visibly defined and the tops are a deep, uniform golden brown. Insert a toothpick into the center to ensure no raw dough remains attached.
Why did my biscuits turn out flat?
Flat biscuits generally occur when the butter gets too warm during the rolling process or the oven temperature is too low. Always ensure your oven is preheated to 450˚F and work quickly to maintain the chill of your fat.
What is the benefit of double folding the dough?
Double folding creates numerous thin layers of butter and flour, which contributes to the signature flaky texture seen in high-end pastries. This technique effectively laminates the dough to ensure a high rise.
Can I serve these for dinner instead of breakfast?
These biscuits make an excellent accompaniment to savory stews or roasts due to the toasted notes of the butter. Serve them alongside a warm bowl of soup or roasted vegetables for a comforting meal.
Conclusion
Mastering brown butter biscuits is a rewarding endeavor that transforms a basic pantry staple into a gourmet experience. With the focus on keeping your ingredients cold and handling the dough with gentle precision, you will achieve professional results in your own kitchen. The marriage of flaky, light layers and the deep, toasted aroma of browned butter makes these a true standout. Delight your guests by serving them warm, straight from the oven, proving that the best flavors are built on time-honored, simple techniques.