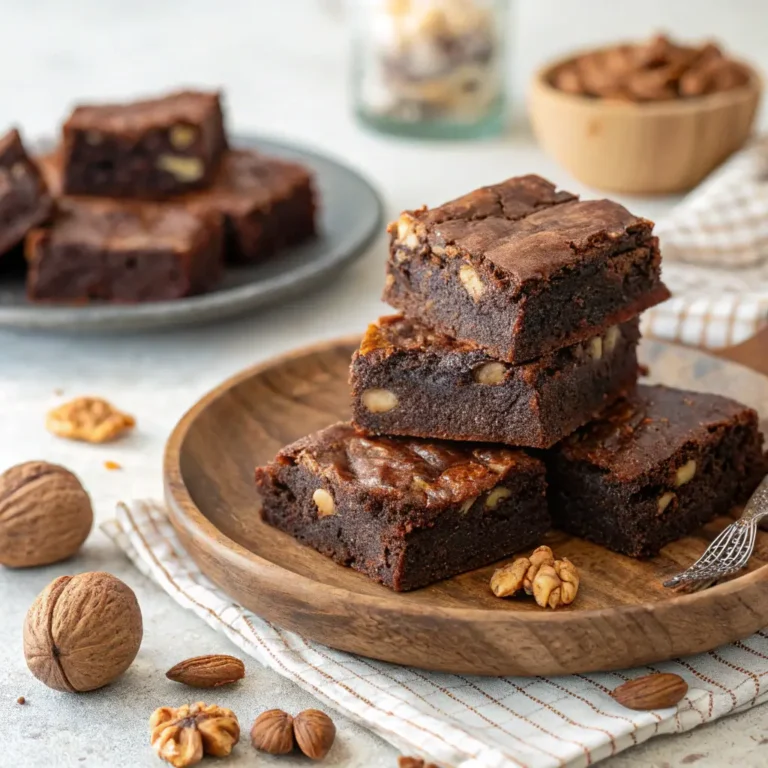
Chocolate Nut Brownies Recipe—a name that instantly makes you think of gooey, fudgy goodness with the perfect crunch! But let’s be honest, baking from scratch can feel like a lot. Maybe you’ve tried before and ended up with dry, crumbly brownies, or worse—ones that never set properly. Don’t worry, we’ve all been there! The good news? This recipe keeps things simple, fun, and totally fail-proof. Whether you’re a baking pro or just starting, you’ll get rich, chocolatey brownies with the perfect nutty bite every single time.
Now, imagine biting into a warm, homemade brownie with crispy edges and a soft, melt-in-your-mouth center. Sounds amazing, right? The best part is, you don’t need fancy ingredients or hours in the kitchen. These brownies are easy to whip up, customizable, and perfect for any occasion. So grab your mixing bowl and let’s get baking—your taste buds are in for a treat!
Print
Chocolate Nut Brownies Recipe
These Chocolate Nut Brownies are rich, fudgy, and packed with melty chocolate chips and crunchy nuts. With a crackly top and gooey center, they’re the perfect homemade treat for chocolate lovers. Whether enjoyed on their own or with a scoop of ice cream, these brownies are pure bliss!
- Total Time: About 50 minutes
- Yield: 12 brownies 1x
Ingredients
- 1 cup butter, melted
- 1 ½ cups sugar
- 3 large eggs
- 1 ½ teaspoons vanilla extract
- 1 cup all-purpose flour
- ¾ cup unsweetened cocoa powder
- ½ teaspoon baking powder
- ½ teaspoon salt
- ¾ cup chocolate chips
- 1 cup chopped nuts (walnuts, pecans, or almonds)
Instructions
- Preheat oven to 350°F (175°C). Line an 8×8-inch baking dish with parchment paper or lightly grease it.
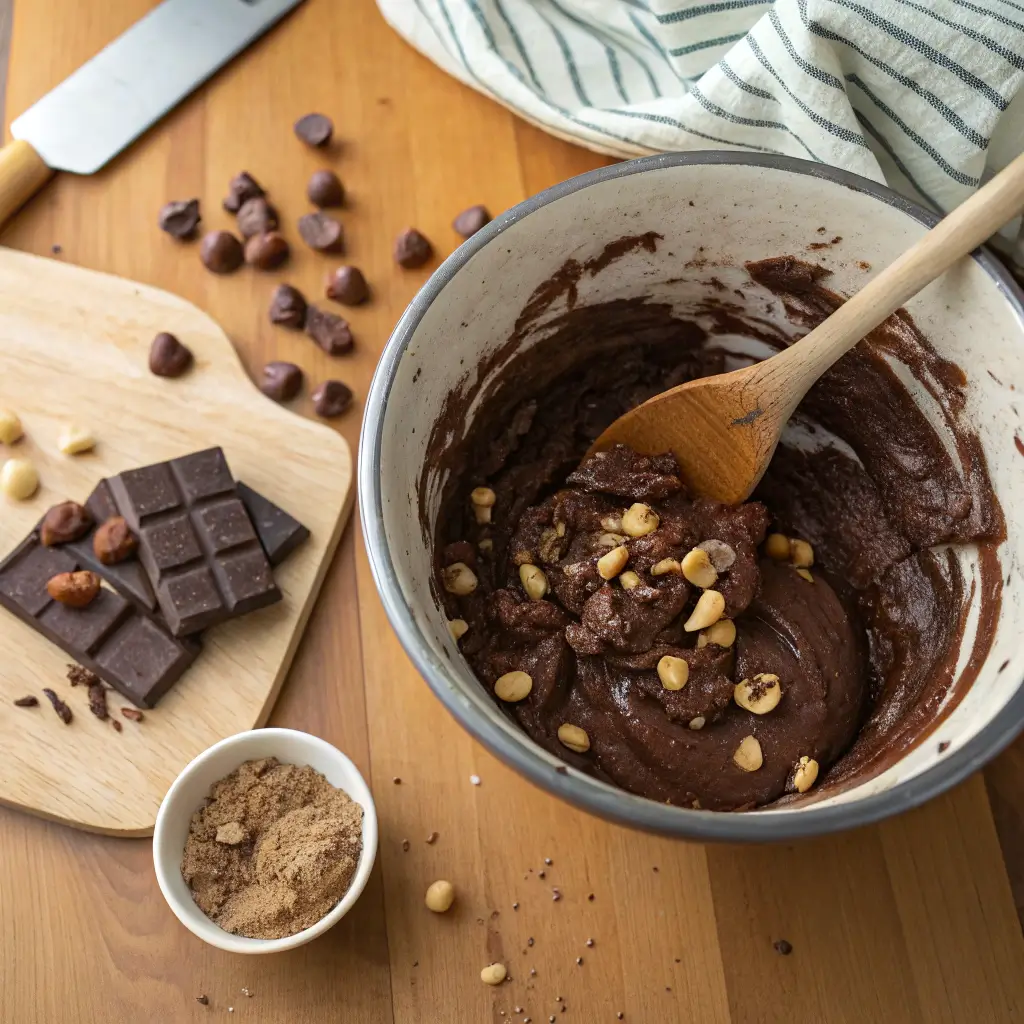
- Mix wet ingredients: In a large bowl, whisk together melted butter and sugar until smooth. Add eggs and vanilla extract, then mix well.
- Add dry ingredients: Sift in flour, cocoa powder, baking powder, and salt. Stir until just combined—do not overmix.
- Fold in chocolate chips and nuts to evenly distribute them in the batter.
- Pour batter into prepared pan and spread evenly.
- Bake for 30-35 minutes, or until a toothpick inserted in the center comes out with a few moist crumbs.
- Cool completely before slicing into squares for clean cuts
Notes
- For extra fudgy brownies, use only ½ cup flour instead of 1 cup.
- For chewier edges, use a metal baking pan instead of glass.
- Store brownies in an airtight container at room temperature for 4 days, or refrigerate for up to a week. Freeze for up to 3 months.
Enjoy your Chocolate Nut Brownies!
- Prep Time: 15 minutes
- Cook Time: 35 minutes
- Cuisine: American
Nutrition
- Serving Size: 1 brownie
- Calories: 240
- Sodium: 90mg
- Fat: 14g
- Carbohydrates: 28g
- Fiber: 2g
- Protein: 4g
Why These Chocolate Nut Brownies Stand Out
The Perfect Balance of Fudgy and Crunchy
Nothing beats the rich, chocolatey bite of a brownie with just the right amount of crunch. Some recipes turn out too dry, while others are too soft. This Chocolate Nut Brownies Recipe strikes the perfect balance. The nuts add a delightful crunch that complements the fudgy texture of the brownies. Every bite has a deep chocolate flavor, with a nutty twist that makes it even more delicious. Plus, you don’t need any fancy equipment—just a bowl, a spoon, and a little love.
Also, these brownies are beginner-friendly. You don’t have to worry about complicated techniques. Just mix, pour, and bake! The key is using high-quality ingredients and following a few simple tricks. Whether you love a gooey center or crispy edges, this recipe delivers both. Next time you crave brownies, this will be your go-to. So grab your ingredients, and let’s bake up something amazing!
Ideal for Any Occasion and Dietary Preferences
Brownies are always a crowd-pleaser. Whether it’s a family gathering, a party, or just a personal treat, this Chocolate Nut Brownies Recipe fits the occasion. You can serve them warm with ice cream, pack them for a picnic, or even gift them to friends. Plus, you can tweak the ingredients to fit different dietary needs.
| Occasion | Serving Suggestion |
|---|---|
| Family Dessert | Serve warm with a scoop of vanilla ice cream |
| Party Treat | Cut into bite-sized squares and serve on a platter |
| Lunchbox Snack | Pack in an airtight container for a midday treat |
| Gift Idea | Wrap in parchment paper and tie with a ribbon |
With so many ways to enjoy them, these brownies will never get boring. Next time you need a foolproof dessert, you know what to bake!
Choosing the Best Nuts and Chocolate for Your Brownies
Nut Varieties That Complement Rich Chocolate
The right nuts can take your brownies from good to unforgettable. Some nuts add crunch, while others bring a buttery texture. The best choices include:
- Walnuts – Classic choice with a mild crunch
- Almonds – Slightly sweet and firm
- Pecans – Soft and buttery
- Hazelnuts – Rich and nutty, pairs well with dark chocolate
Each nut brings something special to the mix. You can even combine two for extra texture. No matter which you choose, they’ll add an irresistible crunch to this Chocolate Nut Brownies Recipe.
Picking the Right Chocolate for Maximum Flavor
Chocolate is the heart of any brownie recipe. The better the chocolate, the better the brownies! Here’s how to pick the best one:
- Dark Chocolate (60–70%) – Rich and deep flavor
- Milk Chocolate – Sweeter and creamier
- Unsweetened Cocoa Powder – Boosts the chocolate intensity
- Chocolate Chips – Add melty pockets of goodness
Want extra fudgy brownies? Use a mix of melted chocolate and cocoa powder. If you prefer a lighter taste, go for milk chocolate. The choice is yours!
Mastering the Baking Process for Perfect Brownies
Achieving the Ideal Texture Without Overbaking
The secret to perfect brownies? Baking time. Too long, and they’ll dry out. Too short, and they’ll be undercooked. The key is removing them when the center is still slightly soft.
| Brownie Texture | Baking Time (Approx.) |
|---|---|
| Fudgy | 25-28 minutes |
| Chewy | 30-32 minutes |
| Cake-like | 35-38 minutes |
Once out of the oven, let them cool before slicing. The brownies continue setting as they cool. Follow these steps, and you’ll always get the perfect texture in your Chocolate Nut Brownies Recipe.
Cooling and Cutting Techniques for Clean Slices
Cutting warm brownies can be messy. Follow these tips for clean slices:
- Let brownies cool completely before cutting
- Use a sharp knife and wipe between cuts
- Refrigerate for firmer slices
- Cut with a plastic knife for the cleanest edges
Taking a little extra time makes all the difference. Try these tips, and your brownies will look as good as they taste!
Creative Ways to Customize Your Brownies
Dairy-Free and Gluten-Free Variations
Need a dairy-free or gluten-free version? No problem! You can swap a few ingredients without losing flavor.
| Regular Ingredient | Substitute |
|---|---|
| Butter | Coconut oil or dairy-free butter |
| All-Purpose Flour | Almond flour or gluten-free blend |
| Milk Chocolate | Dairy-free dark chocolate |
With these swaps, everyone can enjoy this Chocolate Nut Brownies Recipe.
Fun Toppings and Mix-Ins to Try
Want to make your brownies even more exciting? Try these mix-ins and toppings:
- Mix-ins: Peanut butter swirls, shredded coconut, or caramel bits
- Toppings: Powdered sugar, chocolate drizzle, or crushed nuts
Play around with different combinations. Each batch can have a unique twist!
Storing and Serving Suggestions for Freshness
Best Practices for Keeping Brownies Moist
Brownies taste best when fresh. But if you store them right, they’ll stay soft and delicious for days.
| Storage Method | How Long It Lasts |
|---|---|
| Airtight Container (Room Temp) | 3-4 days |
| Refrigerator | Up to 1 week |
| Freezer | Up to 3 months |
If storing longer than a day, wrap them in plastic wrap before placing them in a container. This keeps them moist and prevents them from drying out.
How to Reheat for That Freshly Baked Taste
Want to enjoy that fresh-from-the-oven taste? Here’s how to warm them up:
- Microwave – Heat for 10-15 seconds
- Oven – Warm at 300°F for 5 minutes
- Toaster Oven – Reheat for a crispy edge
No matter how you store or reheat them, this Chocolate Nut Brownies Recipe will always taste amazing!
Enjoy Every Bite of These Homemade Brownies
There’s nothing like biting into a rich, chocolatey brownie with the perfect nutty crunch. Whether you’re making them for yourself or sharing with friends, they’re guaranteed to be a hit. Plus, they’re easy to tweak with different nuts, chocolates, and toppings. Now that you have all the tips and tricks, it’s time to start baking. Enjoy every bite!

Ingredients
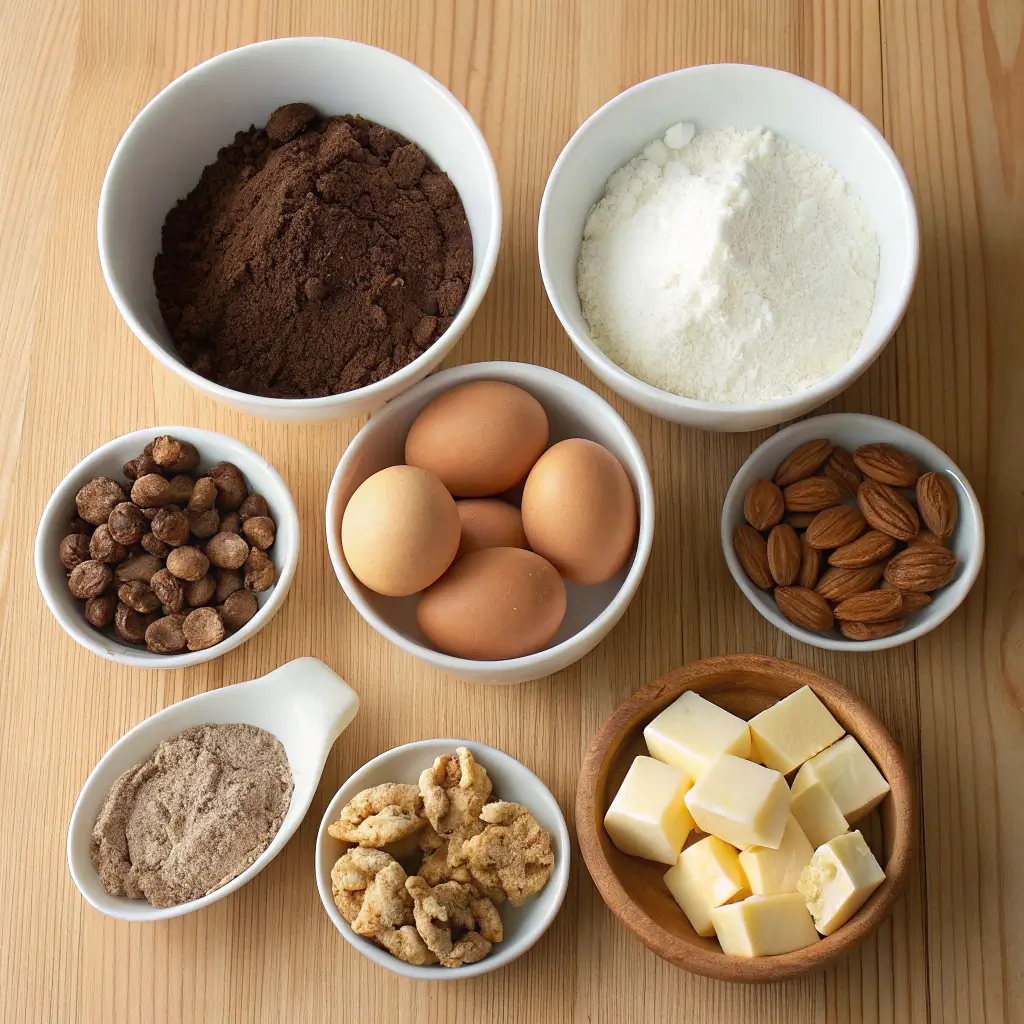
Great brownies start with great ingredients. Each one plays a special role in making these Chocolate Nut Brownies rich, fudgy, and irresistibly delicious. Let’s break it down in a fun way!
- Butter (1 cup, melted) – This is what makes the brownies rich and soft. It also helps bring all the ingredients together. Melted butter gives that signature fudgy texture we all love.
- Sugar (1 ½ cups) – Sweetness is key! Sugar doesn’t just add flavor—it also helps create that shiny, crackly top. Plus, it balances out the deep chocolate flavor.
- Eggs (3 large) – Eggs work like magic! They bind everything together and add structure. They also help create a slightly chewy texture, so your brownies don’t fall apart.
- Vanilla Extract (1 ½ teaspoons) – A little vanilla goes a long way. It enhances the chocolate flavor, making it taste even richer. Plus, it adds a warm and cozy aroma.
- All-Purpose Flour (1 cup) – This keeps the brownies from being too dense. It’s just enough to hold everything together without making them dry.
- Unsweetened Cocoa Powder (¾ cup) – This is the heart of the recipe! Cocoa powder brings deep, chocolatey goodness without making the brownies too sweet.
- Baking Powder (½ teaspoon) – This tiny ingredient makes a big difference! It gives the brownies just a little lift, so they don’t turn out too dense.
- Salt (½ teaspoon) – A pinch of salt balances the sweetness. It also makes the chocolate flavor even more intense.
- Chocolate Chips (¾ cup) – These little pockets of melty chocolate make every bite extra special. You’ll get bursts of chocolatey goodness in every slice.
- Chopped Nuts (1 cup – walnuts, pecans, or almonds) – Here comes the crunch! Nuts add texture, making each bite more exciting. They also give a slightly toasty flavor that pairs beautifully with chocolate.

Step-by-Step Instructions
Making brownies is easy and fun. Just follow these steps, and you’ll have a batch of warm, chocolatey goodness in no time!
- Preheat the Oven to 350°F (175°C) – This gets the oven ready for baking. A properly heated oven ensures even cooking and the perfect brownie texture.
- Prepare Your Baking Pan – Line an 8×8-inch baking dish with parchment paper. This prevents sticking and makes cleanup super easy. You can also grease it lightly if you prefer.
- Mix the Wet Ingredients – In a large bowl, whisk the melted butter and sugar together until smooth. Then, add the eggs and vanilla extract. Mix until everything is well combined.
- Add the Dry Ingredients – Sift in the flour, cocoa powder, baking powder, and salt. Stir gently until just combined. Don’t overmix! This keeps the brownies soft and fudgy.
- Fold in the Chocolate Chips and Nuts – This is where the magic happens! Stir in the chocolate chips and chopped nuts. They add extra flavor and texture to every bite.
- Pour and Bake – Spread the batter evenly in the prepared pan. Bake for 30-35 minutes, or until a toothpick inserted in the center comes out with a few moist crumbs.
- Cool Before Cutting – Let the brownies cool completely before slicing. This helps them set, so they cut cleanly. Use a sharp knife for neat squares.
Serving
Now comes the best part—enjoying your Chocolate Nut Brownies! These brownies are perfect on their own, but you can make them even better with a few fun ideas.
- Classic Style – Enjoy them as they are, warm and fudgy.
- With Ice Cream – Top with a scoop of vanilla or chocolate ice cream for the ultimate dessert.
- Drizzled with Chocolate Sauce – A little extra chocolate never hurts! Drizzle warm brownies with melted chocolate or caramel.
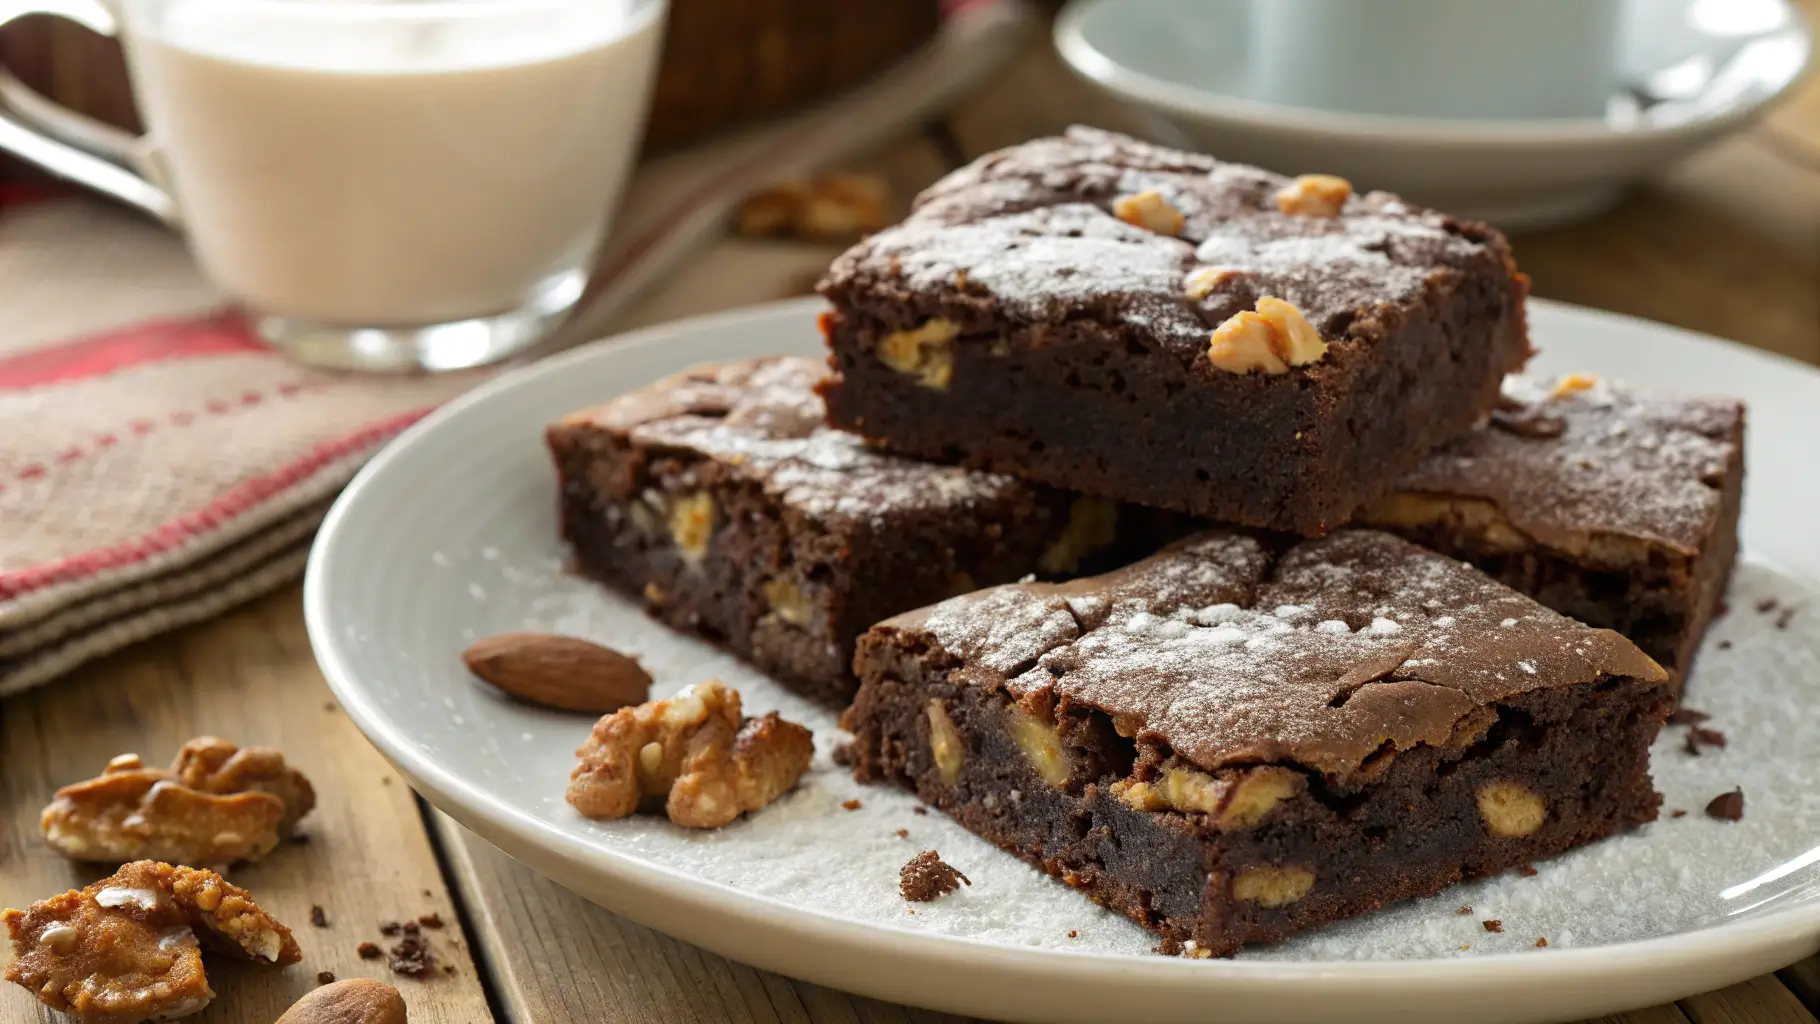
- With a Glass of Milk – Nothing beats the classic combo of brownies and cold milk.
For a fun twist, sprinkle a little powdered sugar on top before serving. It adds a bakery-style touch!
Tips and Hacks
Want to take your brownies to the next level? Here are some fun tips and tricks!
- For Extra Fudgy Brownies – Use only ½ cup of flour instead of 1 cup. Less flour means a softer, gooier texture.
- For Crispier Edges – Use a metal pan instead of a glass one. Metal pans conduct heat better, creating chewier edges.
- For a More Intense Chocolate Flavor – Add ½ teaspoon of espresso powder to the batter. It enhances the chocolate taste without making it taste like coffee.
- Make-Ahead and Storage – Store brownies in an airtight container at room temperature for up to 4 days. If you want to keep them fresh longer, refrigerate them for up to a week or freeze them for up to 3 months.
Nutrition Facts
Here’s an estimated breakdown of the nutrition per serving (1 brownie, based on 12 servings):
- Serving Size: 1 brownie
- Calories: 240
- Fat: 14g
- Carbohydrates: 28g
- Protein: 4g
- Sodium: 90mg
- Fiber: 2g
Please note: These values are estimates and can vary based on ingredient brands, portion sizes, or preparation methods.
Prep Time
- Prep Time: 15 minutes
- Cook Time: 30-35 minutes
- Total Time: About 50 minutes
Please note: The prep time estimate includes gathering ingredients, mixing, and preparing the baking pan.
Now that you have all the details, it’s time to start baking! These Chocolate Nut Brownies are sure to become a favorite. Enjoy every bite!
What to Serve with Chocolate Nut Brownies Recipe
Here are some delicious ideas from Klick Recipes that pair perfectly with Chocolate Nut Brownies!
- 4-Ingredient Banana Bread – A soft and sweet banana bread that makes a great companion to rich, fudgy brownies.
- Chicken Broccoli Cheese Soup – A warm and comforting soup that balances the sweetness of brownies with a creamy, savory touch.
- Cottage Cheese Scrambled Eggs – A protein-packed breakfast idea that pairs surprisingly well with a brownie for a sweet and savory twist.
- Air Fryer Zucchini – A crispy, light side that adds a fresh contrast to the rich, chocolatey flavors.
These tasty pairings will make your brownie experience even better!
Frequently Asked Questions (FAQs)
What makes brownies more fudgy?
Fudgy brownies need the right balance of fat and flour. More butter and chocolate create a rich, dense texture. Also, using less flour keeps them soft. Another trick is baking them just until the edges set. The center should look slightly underdone. Then, let them cool completely before cutting. This helps them firm up without getting dry.
Is melted chocolate or cocoa powder better for brownies?
Both work, but melted chocolate makes brownies richer. It adds extra fat, giving them a smooth, fudgy texture. Cocoa powder, on the other hand, creates a deeper chocolate flavor. If you want the best of both, use a mix. Melted chocolate adds moisture, while cocoa powder boosts the taste. The result? Perfectly balanced Chocolate Nut Brownies with bold flavor and great texture.
What are the three types of brownies?
Brownies fall into three main categories: fudgy, chewy, and cakey. Fudgy brownies are soft and rich with a dense center. Chewy brownies have a little more bite, thanks to a balance of fat and sugar. Cakey brownies are light and airy, almost like chocolate cake. Each type depends on ingredients and baking time. No matter your choice, Chocolate Nut Brownies always taste amazing!
What not to do when making brownies?
First, don’t overmix the batter. It makes brownies tough instead of soft. Also, avoid overbaking, or they’ll dry out. Another mistake is cutting them too soon. Hot brownies fall apart, so let them cool first. Lastly, don’t forget good-quality chocolate. Cheap chocolate affects both texture and taste. Follow these simple steps, and your Chocolate Nut Brownies will turn out perfect!


